If you haven't already, check out GoodGuyDan for his RG Sword Strike and Appasionata's RG Aile Strike!
* Update : Syd from GaijinGunpla is kind enough to bring a sum up for our build off!! head to his blog for the awesome blog post about our build off.
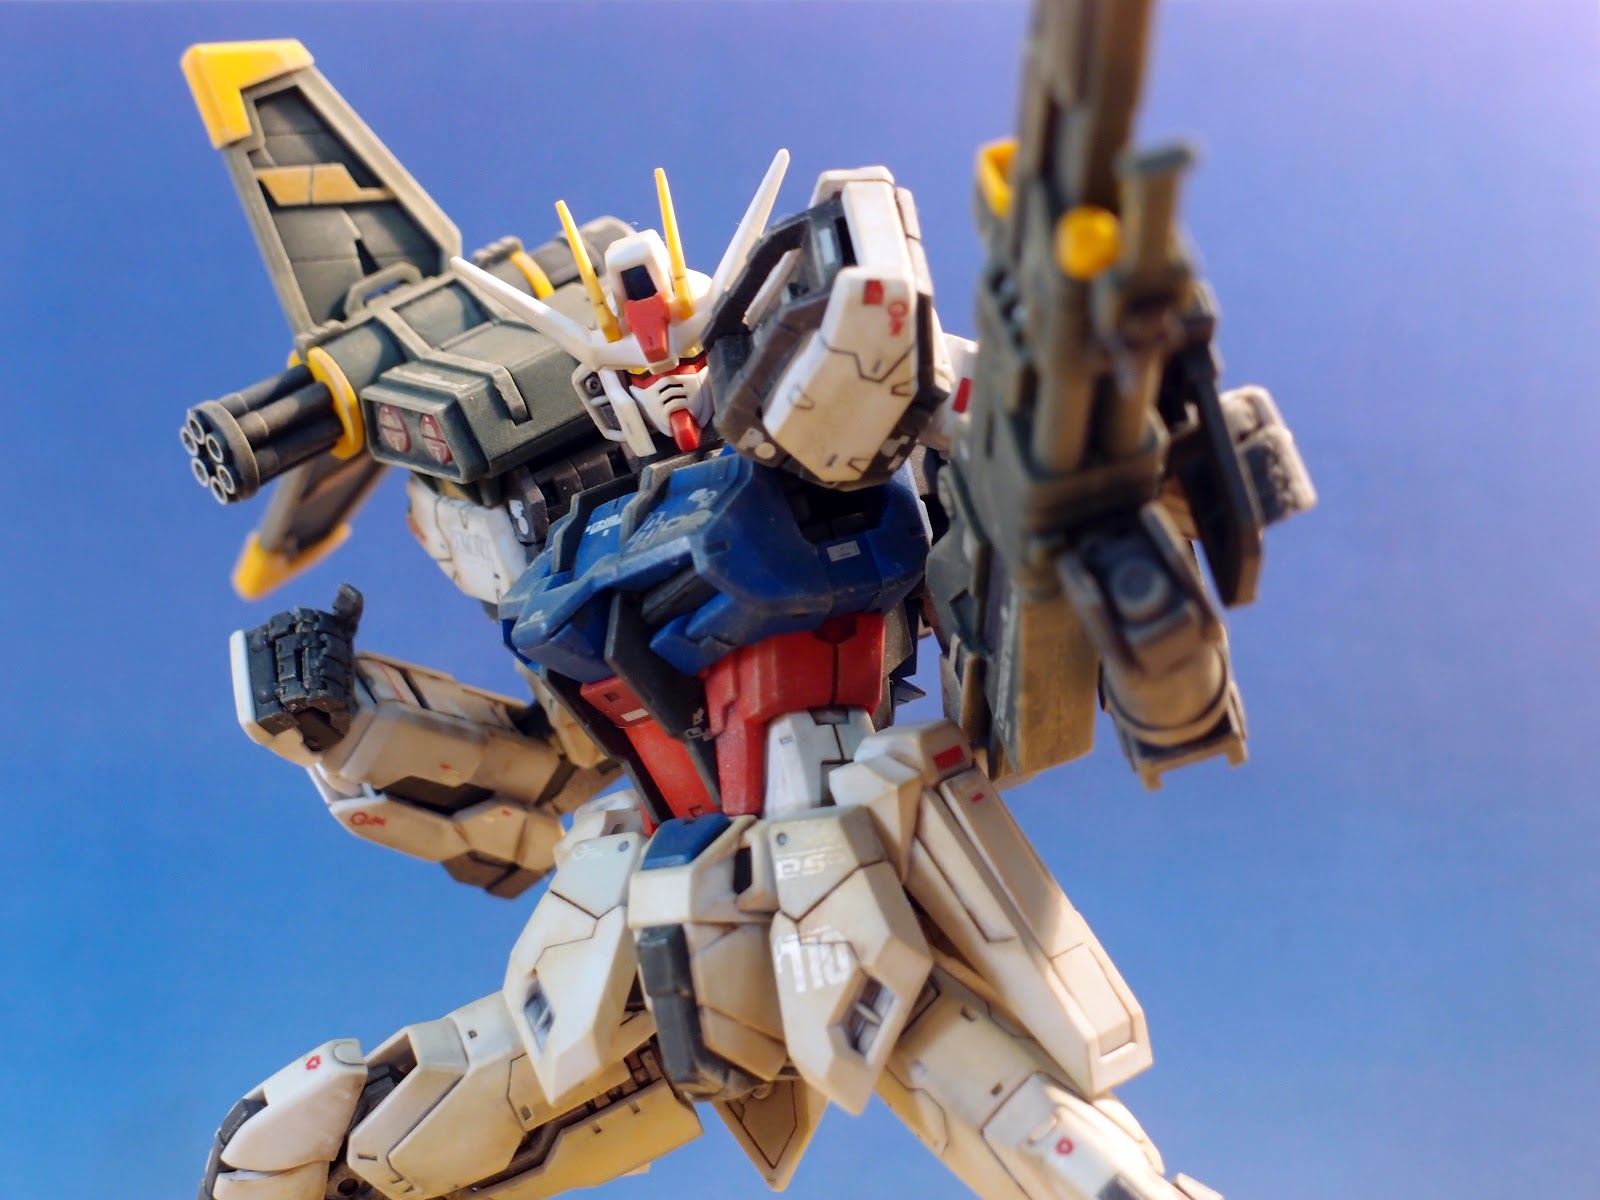
A little information :
It is my first attempt on filter, rust/sand weathering, and even diorama! I have to say it is a bit of an experiment here and there.
I did think about the battle scene in desert should have "sand chipped" weathering. Also rain will cause rust and watermarks with gravity pull direction in panel lines. so I give it a slight real touch marker filter on it.
Let the photos session begin~
Enjoy~


For RG Strike's main body, revisit my WIP 5.5


RG Launcher Strike is officially completed.. I'll finish up the sword, aile and skygrasper also in desert mode. Alright, good night Gunpla world.. God bless.
Special thanks to Gundam Australia Blog , Gunjap.net and GKC for the featuring!
*Note: We are honoured to have Syd a.k.a. Gaijin Gunpla to be our guest judge on this build off event.
nice poses man! strike gundam is really one of the best gundam ever made by bandai
ReplyDeleteThanks! oh yes I totally agree. RG line really is something. the details are amazing for that small scale.
Deletebtw, I'll post more of my aile strike gundam RG when I'm done first with my 00 gundam 7 sword/G HG, avalanche dash exia HG and exia RII HG. perhaps the slideshow and photos on my blog of my aile strike gundam will be published this october
ReplyDeleteNice! get the posing going! Pose your RG Strike fast man.. =D
DeleteCongrats on getting on gunjap, the weathering on this is fantastic thanks for sharing
ReplyDeleteJay
Thanks man! glad you like it. =D
DeleteHEY! Could you post techniques on what you do to each part before assembling any gundam? I'm a beginner and would like to get more information on this. Thanks!
ReplyDeleteHey Dex, thanks for liking my works! I'm actually planning to do more tutorial guides for beginners. (well, yeah, since I too start from a beginner). You will see more little intermediate tutorials soon!
DeleteNice work. The weathering seems really well balanced. Sometimes people go overboard on that part. I can never decide if I like the real world weathered look on Gundams or the factory fresh look. Your paint job argues for the weathered look very well!
ReplyDeleteThanks for the commend! It took a while to decide how much weathering to put on. But I always like weatherings on some particular Gundams. But for MG Sinanju and Unicorn, I'd like it clean and new.
DeleteAnd of course, the MG Nu ver.ka. these kits deserve to be clean build.
Sir, I must say...well,actually, I'm speechless! >_> Thank you for making this. It's quite an inspiration. T_T Hoping for that tutorial on weathering soon!!! woohoo!
ReplyDelete\m/(^o^)\m/
Thanks for the kind comment Kikay. Glad to know you like it! I've been busy moving to a new city.. But I'll be making some weathering tutorials when I get back! Stay tuned....
DeleteWhat methods did you use for the weathering? Looks awesome, congrats btw! :)
ReplyDeleteThanks .. I used Tamiya Weathering Master sets for the weatherings. =]
DeleteWhat is it precisely? A,B,C..?
DeleteAnother question: What is your building order? Build>Shading>Decals>Coating>Weathering or ?
Thank you, keep so! :)
Tamiya Weathering Master Sets A and C to be exact.
DeleteI build with various order to suit what I want in final product. But this was build with this order.
1. Assembly (+ Paint inner frames & details)
2. Real touch marker weathering (for shading)
3. 1st round panel lines (light grey)
4. thin Gloss topcoat
5. Decals
6. Thin Gloss topcoat
7. 2nd round panel lines & Real touch markers
(Oil stains / rust)
8. thin Matte topcoat
9. Tamiya Weathering Master sets (Sand / Metal scratches silver )
10. repeat last 8 & 9 to satisfaction
11. Final thin Matte topcoat
Note: every one build differently. These are my first attempt on desert weathering steps =]